
Keeping your Home Assistant Container up to date
One of the things people miss most about the Home Assistant Operating System supervisor is how easily it keeps everything up to date.
The Supervisor takes care of updating your Home Assistant Server operating system, the Home Assistant Application and any AddOns that you have installed.
So how do you achieve the same result when you are managing your own operating system and Docker environment, running Home Assistant Container?
I do it using this simple Bash update script.
#!/bin/bash
apt update
apt full-upgrade -y
apt autoremove -y

cd /opt/
docker-compose pull
docker-compose up -d
docker image prune -af
docker volume prune -f
To get started, copy the script above and paste it into a new file in your /opt folder on your Ubuntu Linux computer.
I name this file update.sh and I suggest you do the same.
You can either use an instance of VSCode that is remotely connected to your server, or SSH into it and use the Nano text editor.
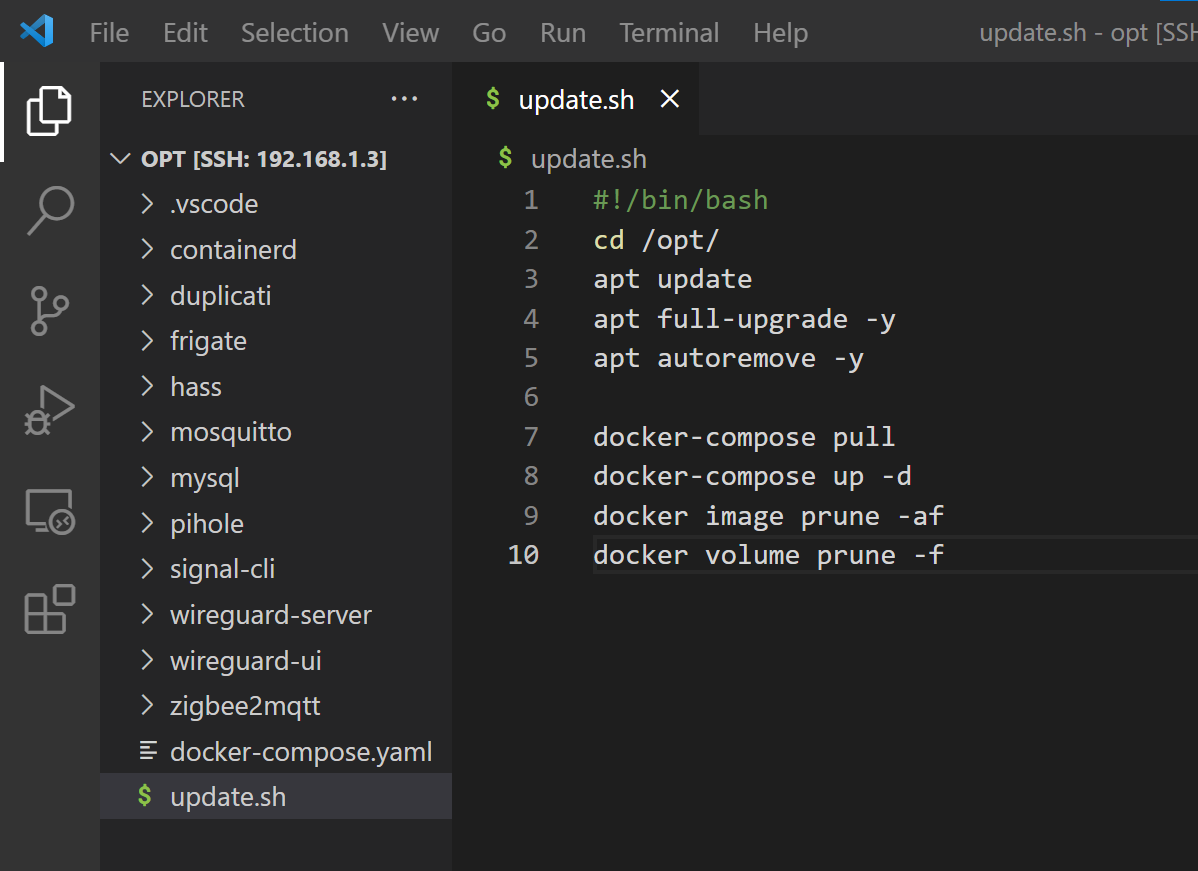
VSCode with the update.sh script in the /opt directory
What do all these commands do?
You shouldn't really run random bash scripts that you find on the internet like this without understanding exactly what they do.
This script is broken up into two parts. The first part updates the underlying Linux operating system and all the applications that are installed directly on it, like Docker.
Here is what each line does:
#!/bin/bash - This is at the top of all Bash scripts and tells the operating system what type of file it is and how to interpret the commands. It's technically called a She-Bang, or Sha-bang.
apt update - This command downloads the latest information about each of the packages (Applications) you have installed on your system. This tells your computer what needs upgrading, and where to get the upgraded files from.
apt full-upgrade -y - This command actually does all the upgrading of the packages that have updates available. It also upgrades any of the dependencies that are needed for these applications.
apt autoremove -y - This command removes any dependencies that are no longer needed and cleans up anything you no longer need on your system.
The -y part at the end of each of these commands makes it say Yes to any messages that come up. As we're going to be running this script in the background, we don't want it to sit there waiting for confirmation each time it runs and not actually doing any updates.
The second part of the script is responsible for upgrading any and all the Docker containers you are running to their latest versions.
cd /opt/ - This will just change the directory to the /opt directory. This is where my docker-compose.yaml file lives, and all the docker-compose commands need to be run in the directory that this file is in.
docker-compose pull - This command pulls down the latest versions of any of the Docker images that you've specified in your docker-compose.yaml file, and their dependencies.
docker-compose up -d - This command should be familiar to you - it recreates any containers that have new versions of their images available.
docker image prune -af - This deletes any old versions of Docker images that are no longer being used. Docker images can take up a lot of disk space, so removing the old ones will free up disk space. The switches at the end remove all images (-a) and force it to do it without asking you for confirmation (f), similar to the -y switch in the apt commands above.
docker volume prune -f - This deletes any of the storage volumes that are no longer used by your containers, once again freeing up disk space.
Running the script
Before running any updates like this, I highly recommend that you backup your system first in case anything goes wrong. You can find out how to run automatic backups of Home Assistant Container in this YouTube video.
To run this script you can SSH into your Linux server, navigate to the /opt directory.
You first need to allow the script to execute by modifying the permissions on it. This is done with the chmod command like this:
sudo chmod 755 update.shYou can now run the update script with this command.
sudo ./update.sh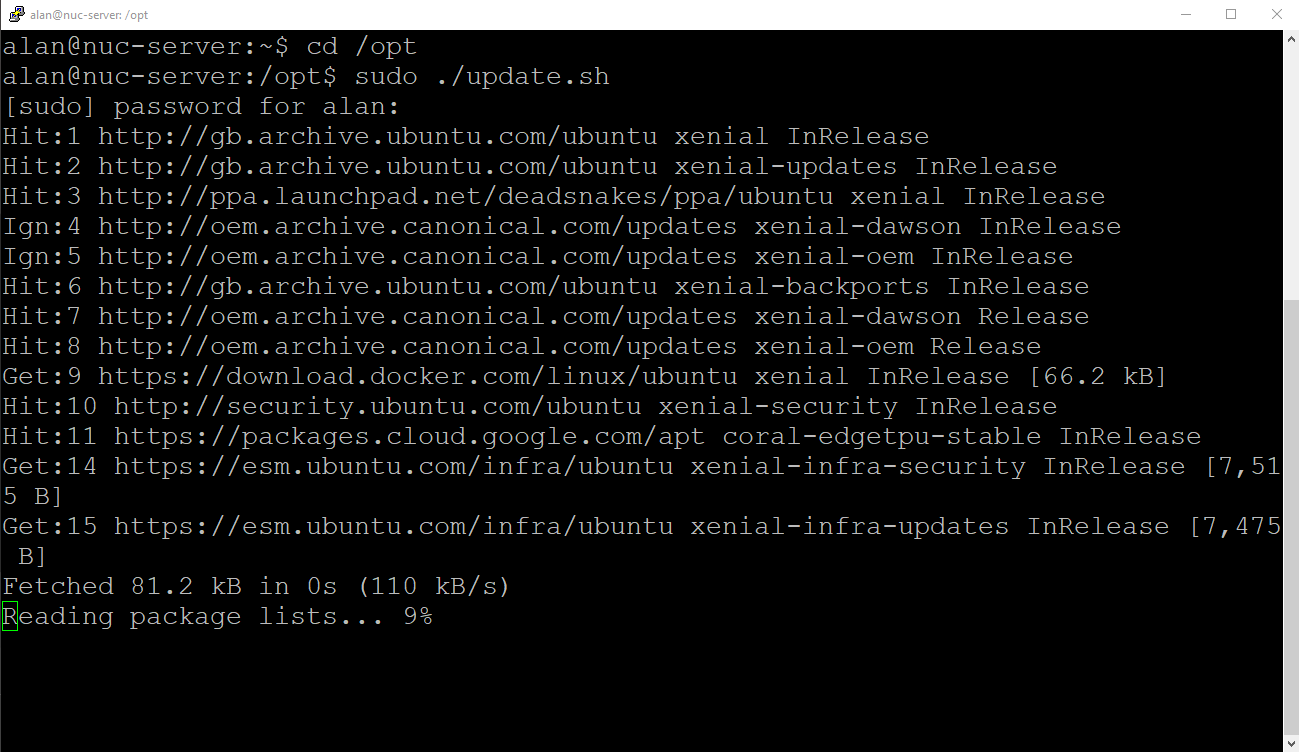
Update script running in my terminal window.
And that's it! You can now upgrade your whole system whenever you want by just running this command.
Automatically running this update script
In my system I have created a cron job to automatically run this update script once a week. This keeps my operating system and Docker containers up to date automatically. Some people are reluctant to do this automatically as it may break their system without their knowledge, and that is a fair stance to take. I've been running this for over a year now and have had very few problems with it.
Cron is a Linux tool that basically just runs scripts and things automatically at a time you specify. It's very similar to Task Scheduler on Windows. Each scheduled task that is configured is called a cron job.
To set up your environment to automatically run this update script on a specific time or day, you use the crontab tool. Cron is stupidly complicated to understand, and I'm not going to try and explain it because someone has already done that really well here.
This example will run your update script automatically on Saturday at 5am. I choose 5am on Saturday for the following reasons.
My backups automatically run at 2am every day - this means I'm likely to have a fresh backup ready and available before this update runs.
Home Assistant updates are released on the first Wednesday of each month. If I wait until Saturday to update my system it gives me time to read any of the breaking changes or learn if there are issues with the update that I need to address before it is installed.
To set up a new Cron Job you SSH into your Linux server and run this command:
sudo crontab -eIf this is the first time you're creating a cron job you might be asked what Editor you want to use to edit the cron file. I recommend choosing Nano as I find it the easiest.
Now scroll all the way down to the bottom of the file and paste this line in
0 5 * * 6 /opt/update.shThis will run your update.sh script from the /opt directory at the 5th hour of the 6th day of each week. That basically means Saturday at 5am.

My crontab showing the update script entry.
Press Ctrl + X to exit Nano, and say Yes to saving the file.
Your new update script will now be automatically run next Saturday at 5am! If you want to change the date and time that the script runs you can run crontab -e again and change the schedule information at the front of the /opt/update.sh part of the line. I suggest reading the Guide to Cron article to understand what you should change these to in order to get your desired results.