
Network Zigbee Adapters with Zigbee2MQTT
When people ask me for advice to improve their Zigbee network reliability I always suggest that they place their Zigbee coordinator in the middle of their house. That way the Zigbee network mesh spreads out across the floorplan of their property from the center outwards.

Zigbee mesh network with coordinator in the middle of the house
Of course, when I built my own Zigbee network I completely ignored my own advice and stuck my coordinator in the laundry in the basement next to all kinds of electromagnetic interference and Wifi access points 🤦

Possibly the worst place to put my Zigbee dongle
Unsurprisingly, this resulted in a lot of Zigbee network stability issues and quite often my Zigbee devices would go offline in Zigbee2MQTT.

Offline devices in Zigbee2MQTT
But I had a good reason to have my Zigbee dongle in the laundry. That is where my server rack is and I had to plug the dongle into my ProxMox server which runs Home Assistant and Zigbee2MQTT via a long USB extension cable.
It was time to solve this problem once and for all and listen to my own advice. I had to find a way to move the Zigbee coordinator away from the basement, whilst keeping my server rack in place.
Using a Raspberry Pi and ser2net
I needed to find a way to decouple my existing Home Assistant SkyConnect USB dongle from my server and place it centrally in my house.
I stumbled across a project called ser2net - which I presume stands for Serial to Network - which enabled me to proxy my USB Zigbee dongle through another computer, and send the Zigbee network traffic across my network to Zigbee2MQTT running in my basement.
It runs on any computer - even on a Raspberry Pi, which I happened to have lying around in my nerd drawer.

I quickly installed the Raspberry Pi OS Lite onto the SD card, plugged the Pi into my network and connected to it via SSH.
Next I followed the instructions on the Zigbee2MQTT website to install ser2net.
sudo apt-get install ser2netI then stopped the Zigbee2MQTT add-on on my Home Assistant server and plugged my existing USB dongle into the Pi. Next I ran dmesg to determine the port that it was running on, which turned out to be ttyUSB0
I then edited the ser2net YAML configuration file with
sudo nano /etc/ser2net.yamlAnd pasted the following lines to the bottom of the file.
connection: &con01
  accepter: tcp,20108
  connector: serialdev,/dev/ttyUSB0,115200n81,local
  options:
    kickolduser: true
Then I pressed CTRL + X, saved the file and quit. It was time to reboot the Raspberry Pi.
I went back to the Home Assistant Zigbee2MQTT add-on and went to the configuration section. I changed the serial adapter settings to the following - which is the IP Address of my new Pi running ser2net.
port: tcp://192.168.22.11:20108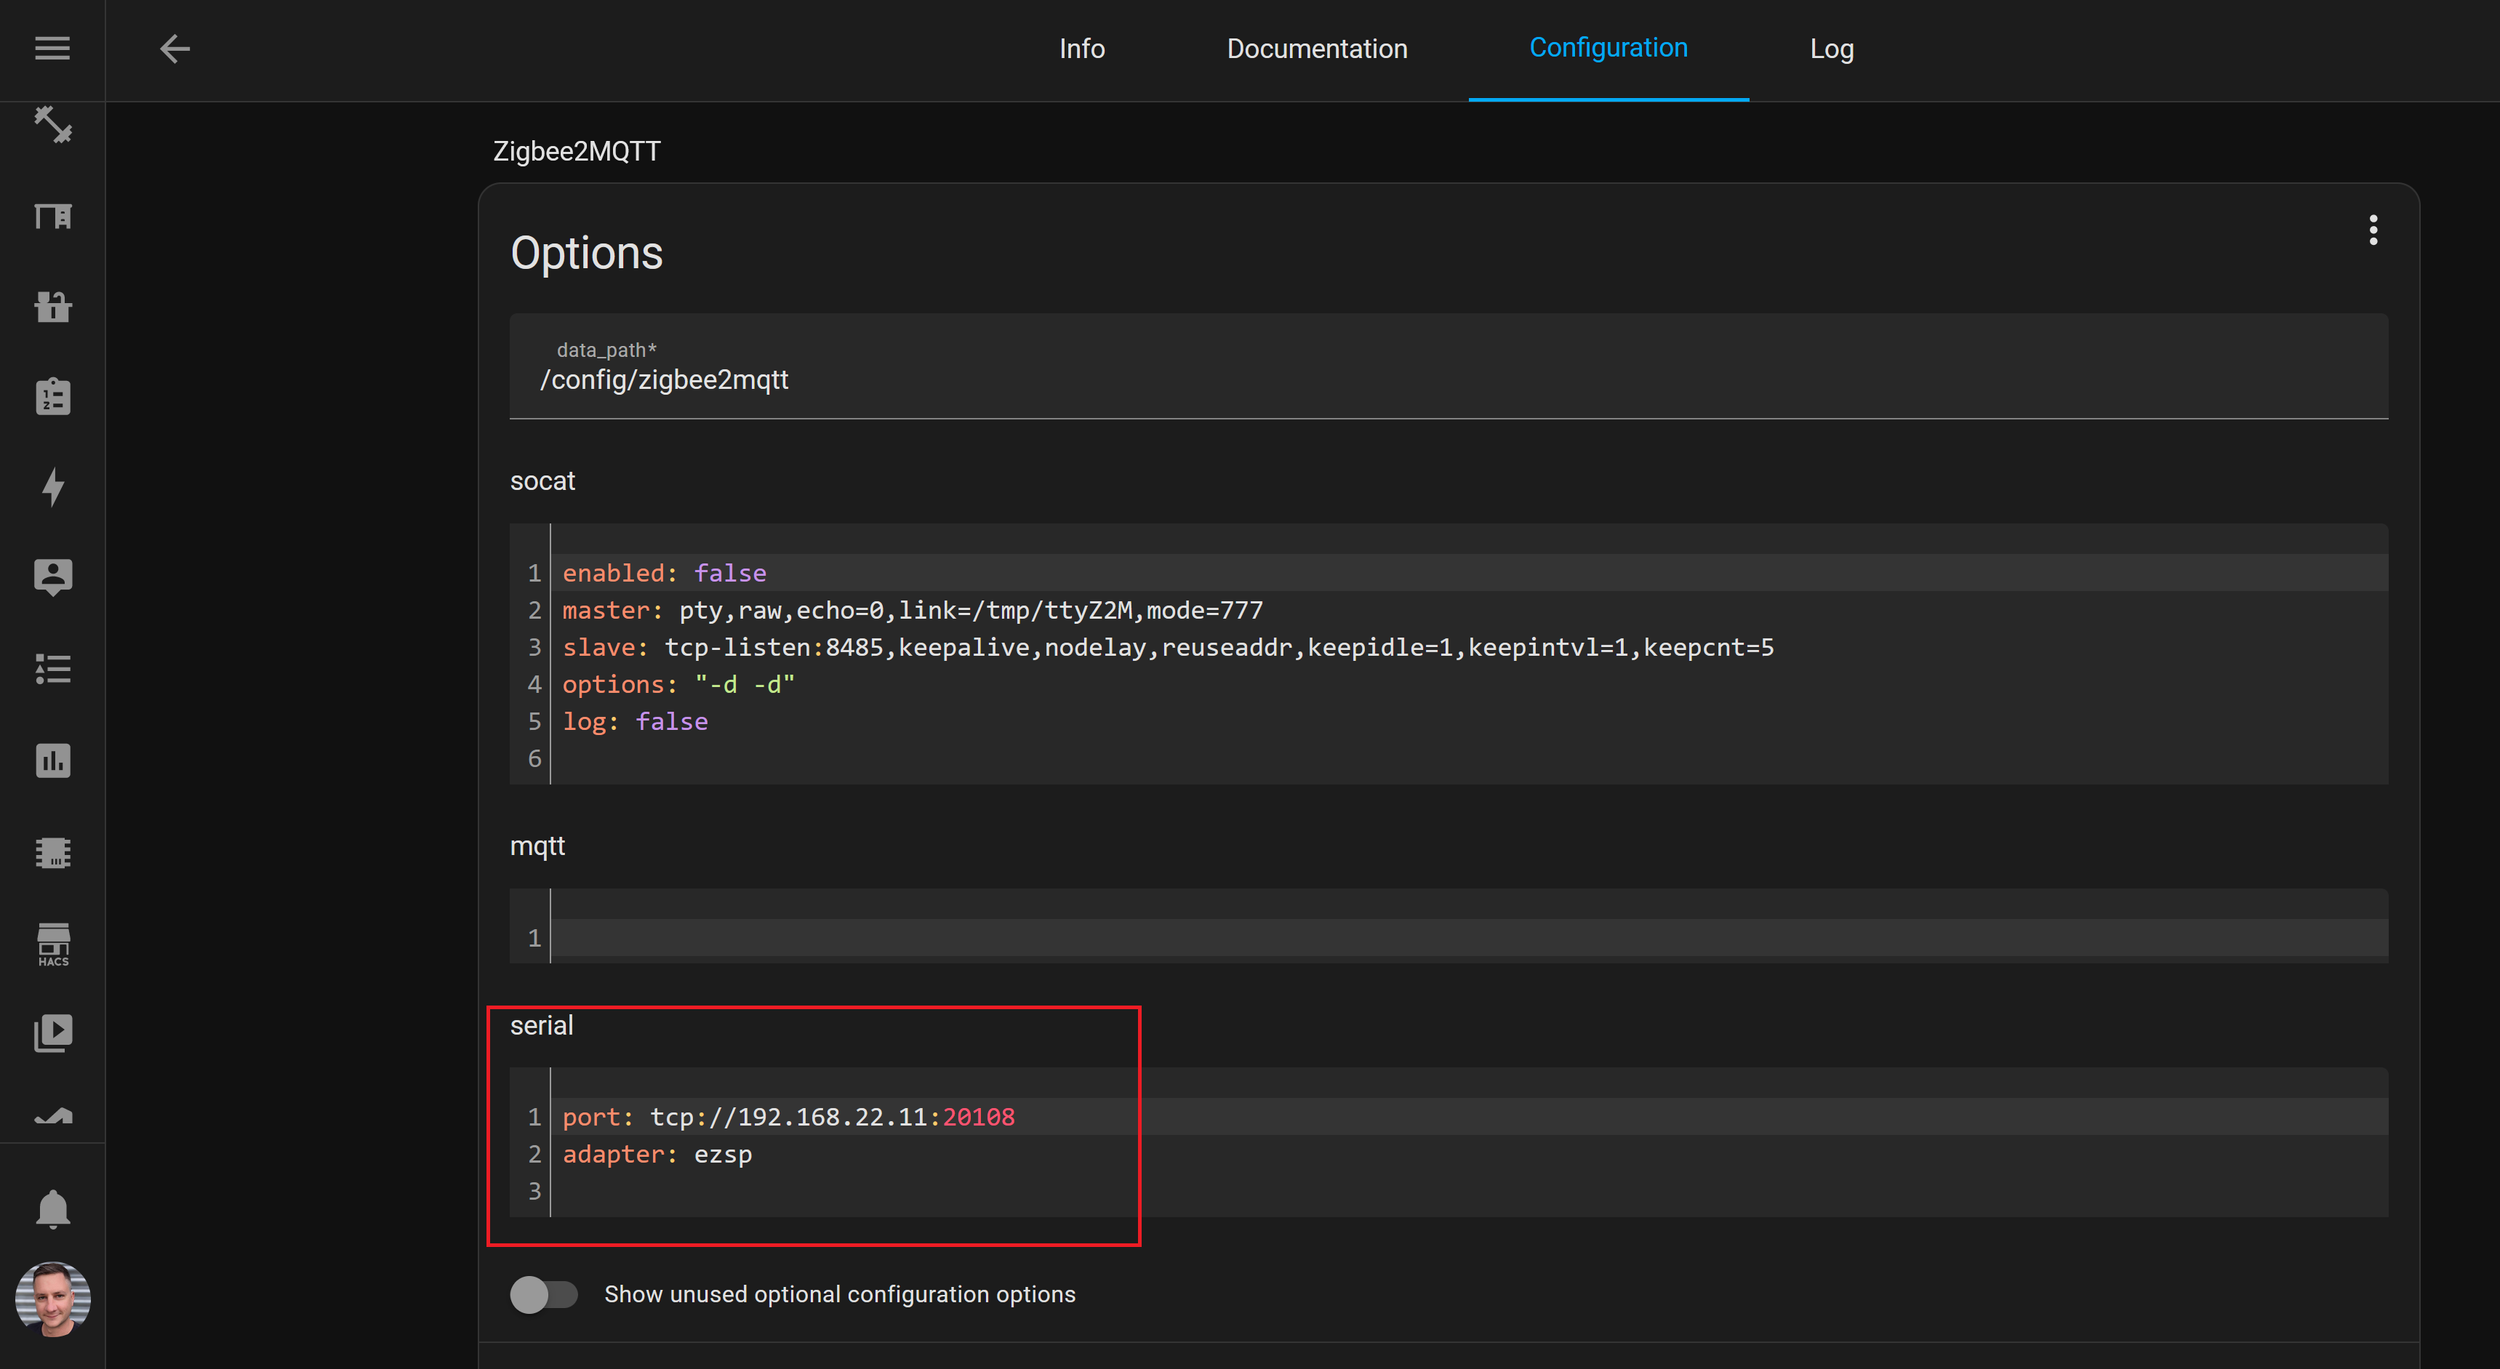
Home Assistant Zigbee2MQTT Add-On Configuration
I started Zigbee2MQTT again, and was relieved to find that everything was working as expected! I was now able to move the Pi into the center of my house, and plugged it in to a network port on the wall.
This worked fine for me for a couple of weeks, but then the Offline device problem came back - I was not impressed.
I then learned that the Nabu Casa SkyConnect stick that I use only has experimental support for Zigbee2MQTT. Maybe this was the reason that I was having problems?

Nabu Casa’s SkyConnect Zigbee Coordinator has only Experimental support in Zigbee2MQTT (At the time of writing)
Network Connected Zigbee Adapter
After a bit more research I learned that you can get network based Zigbee coordinators that work with Zigbee2MQTT which can be plugged directly into your home network, or over Wifi. Some can even be powered by Power over Ethernet (PoE).
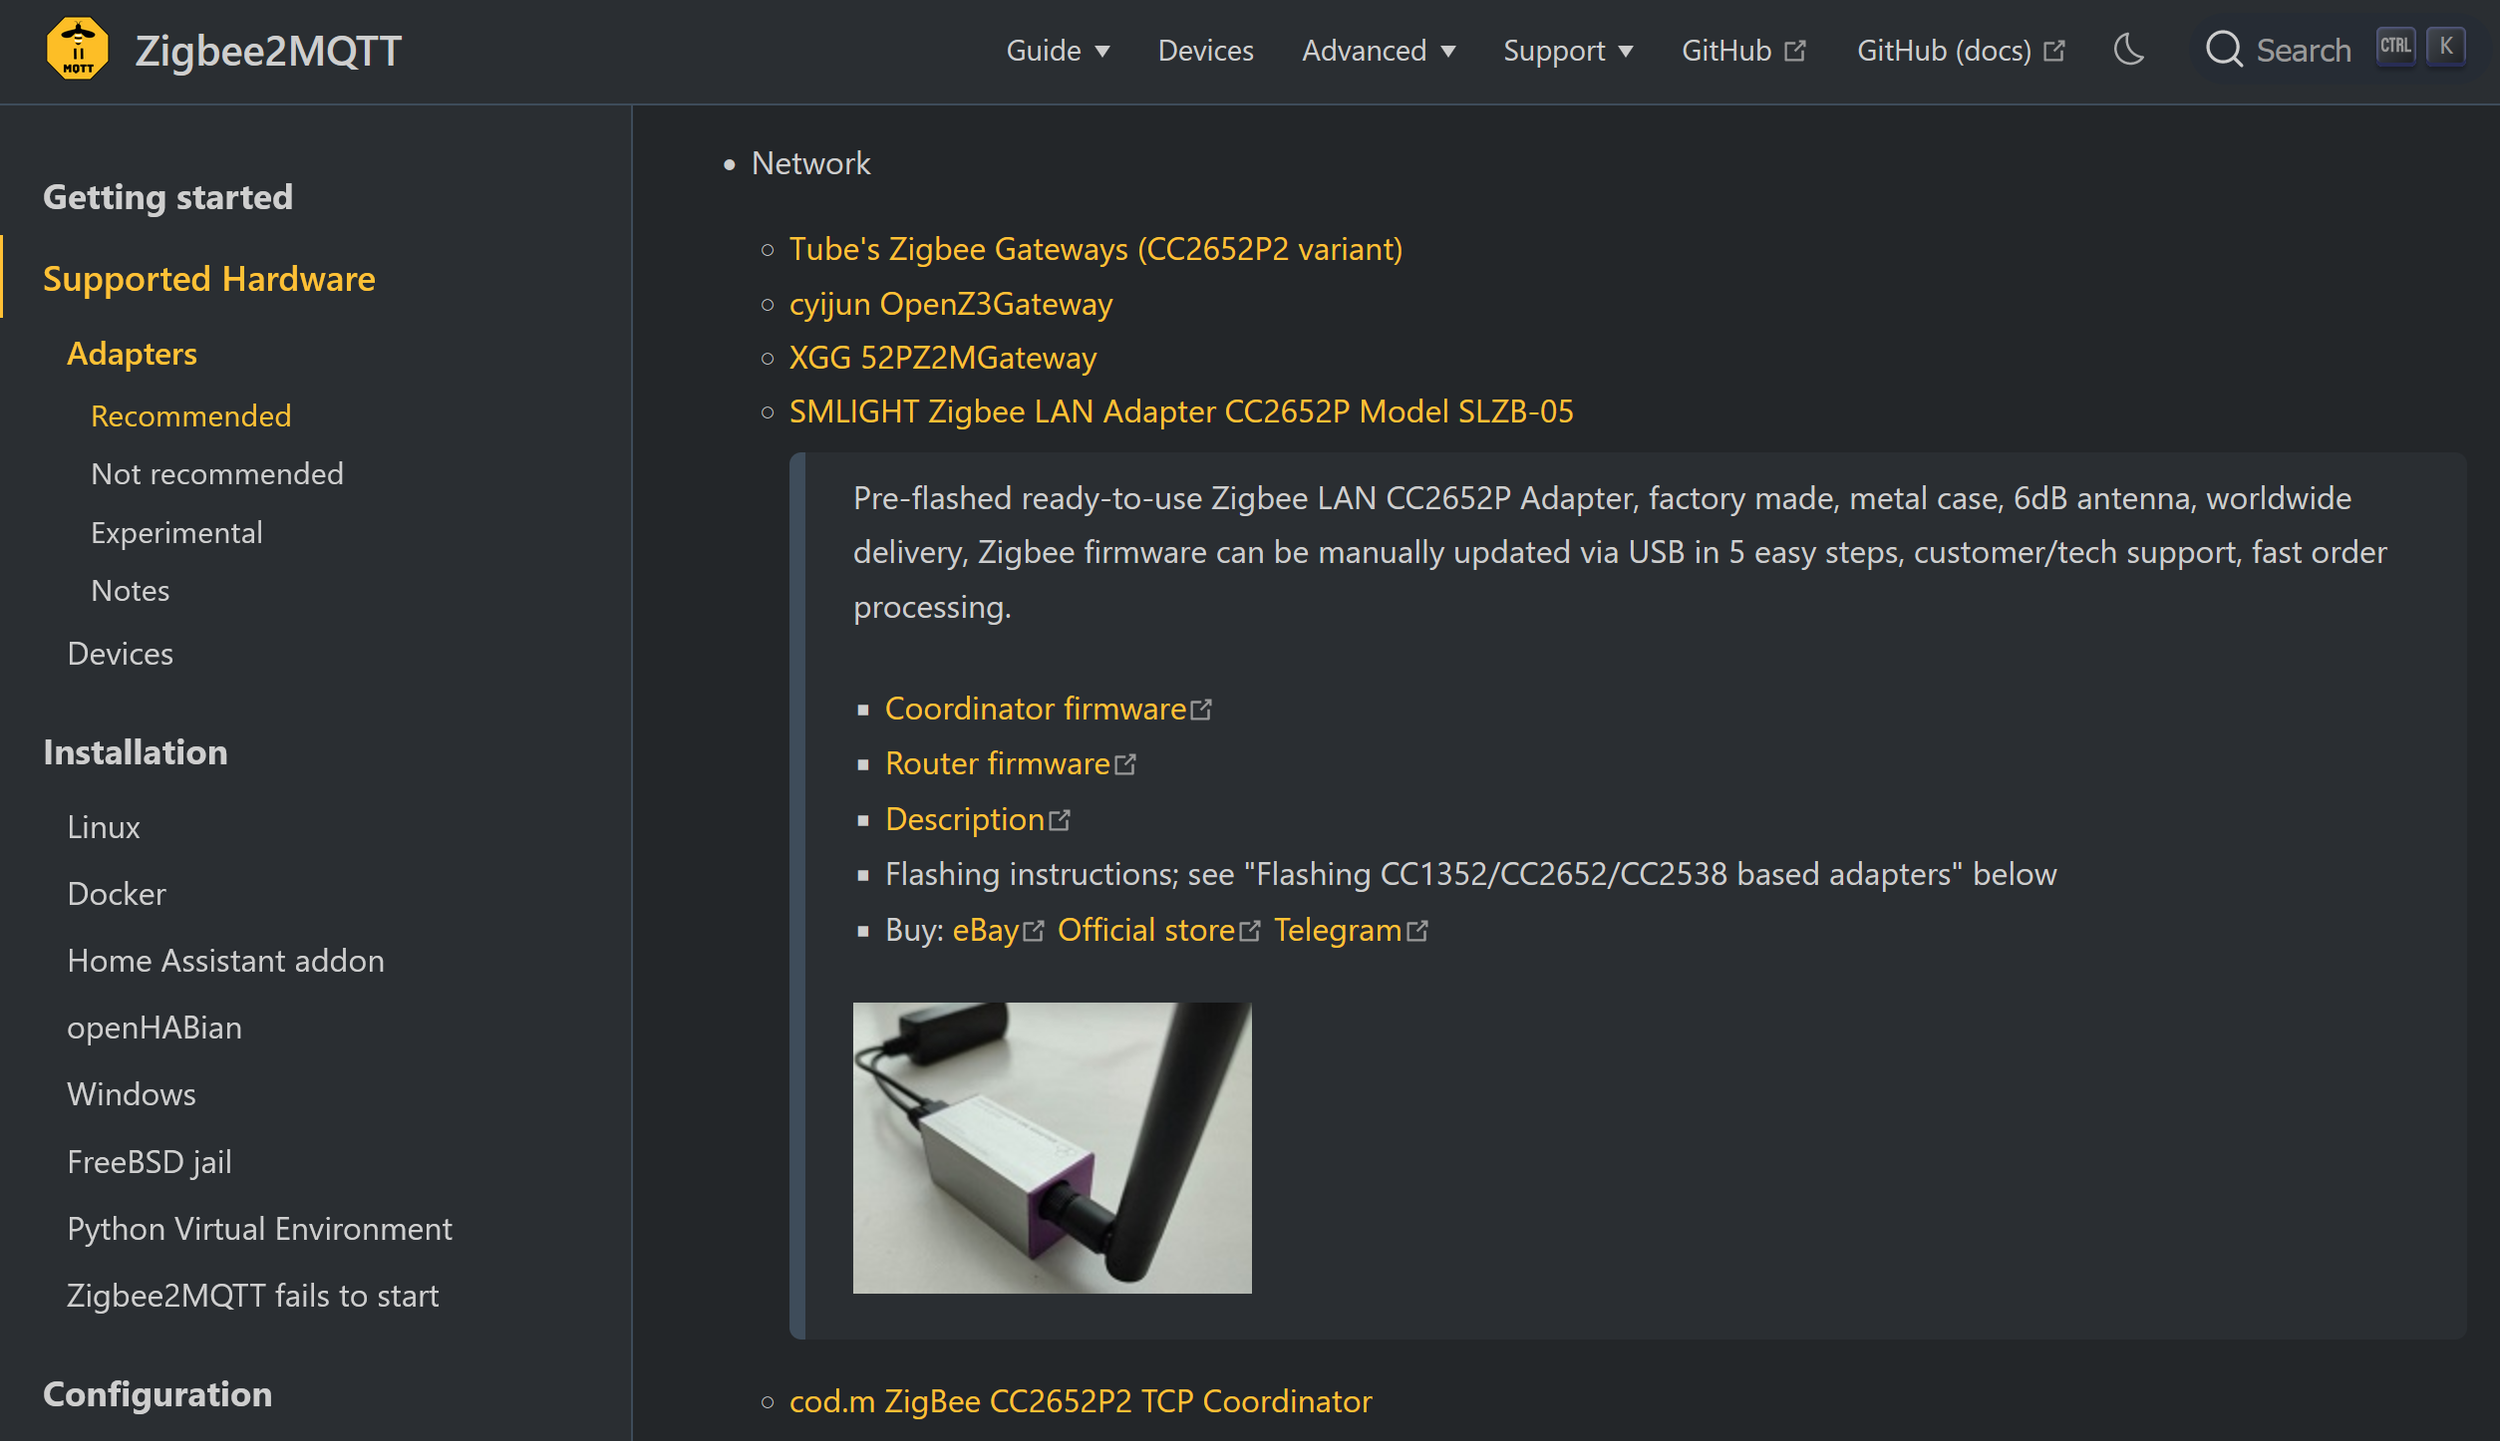
Supported Network coordinators for Zigbee2MQTT
This was an ideal solution as I could plug the network based adapter into a network outlet in the middle of my house, and still run Zigbee2MQTT on the server in my basement. I opted for a SLZB-06 Zigbee PoE coordinator because it is open source and has been specifically designed to work with Zigbee2MQTT. It comes with a huge amount of functionality, and when I bought it was on sale for $US 30 - what a bargain!

This adapter supports an ethernet connection with PoE, a USB connection, or even Wifi. However, I would never recommend running the coordinator over Wifi as it is likely to have latency or drop-outs which may make the network unreliable.
I plugged the coordinator into my network, powered it up, and once it was assigned an IP I referenced it in Zigbee2MQTTs configuration yaml file like this:
serial:
    port: tcp://192.168.22.240:6638
    baudrate: 115200
    adapter: zstack
    disable_led: false
    advanced:
      transmit_power: 20
Now, when I start or re-start Zigbee2MQTT it will use this new adapter.
If you’re using a Sonoff Network ZBBridge gateway, you need to follow some slightly more complicated instructions.
I now had to go and re-pair all 104 of my Zigbee devices 😭
The instructions on the Zigbee2MQTT website told me to delete the data/coordinator_backup.json (if it exists) and data/database.db files, and then power off all my router devices, which I did by flipping the circuit breaker to my house and taking everything offline. I left it that way for 30 seconds and then powered it back up again.
I then followed my own Zigbee advice and started by pairing all my router devices, starting with those closest to the new coordinator and radiating outwards from there.
I then went back and paired all the battery powered devices in situ.
Luckily Zigbee2MQTT remembered all my device names, and I didn’t have to rename anything once it was re-paired, and they came back into Home Assistant without any problems.
After a month of using this adapter, I’m pleased to report that not a single devices has dropped off the network unexpectedly and my network is once again reliable! 🥳